Web Forms consist of a combination of HTML, code, and controls that execute on a Web server that i’s running Microsoft Internet Information Services (lIS). Web Forms display a UI by generating HTML that is sent to the browser, while the supporting code and controls that run the UI stay on the Web server. This split between client-side interface and server-side code is a crucial difference between Web Forms and traditional Web pages. While a traditional Web page requires all of the code to be sent to ahd be processed at the Browser, Web Forms need to send only the interface controls to the browser ,and the page processing is kept on the server. This UI/code split increases the range of supported browsers while increasing the security and functionality of the Web page.
Web Forms are commonly referred to as ASP.NET pages or ASPX pages. Web Forms have an .aspx extension and work as the containers for the text and controls that you want to display on the browser.
ASP.NET (.aspx) pages and Active Server Pages (ASP) can coexist on the same server.
The file extension determines whether ASP or ASP.NET processes it.
Web Forms are often comprised of two separate files: the .aspx file contains the UI for the Web Form, while the .aspx.vb or .aspx.cs file, which is called a code-behind page, contains the supporting code.
When you create a new project in Visual Studio .NET, a default Web Form named WebForm1.aspx is automatically included in the project .
To create a new ASP.NET Web Application-project and a default Web Form you have to follow the following steps:
1. In Visual Studio .NET, on the Start Page, click New Project.
2. In the New Project dialog box, click ASP.NET Web Application, type the project name in the Location field, and then click OK.
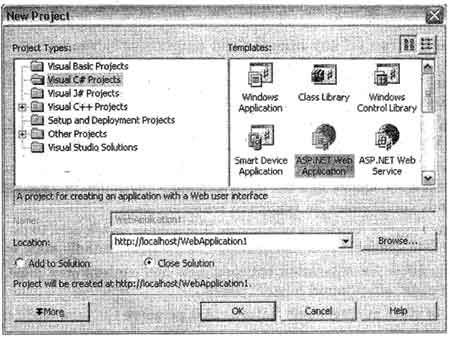
Visual Studio.NET creates a new Web application and a default Web Form that is, name WebForml.aspx. If you are expanding an existing project, you can use Solution Explorer to quickly add additional Web Forms.
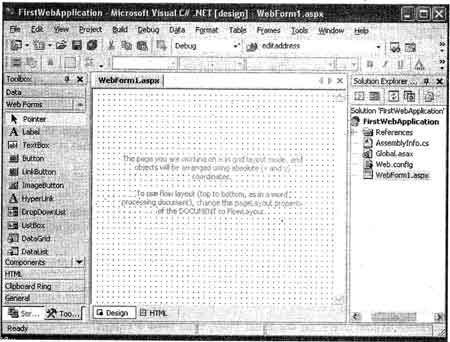
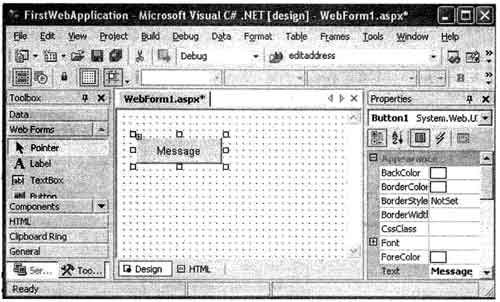
3. Now add the Button control from the toolbox:
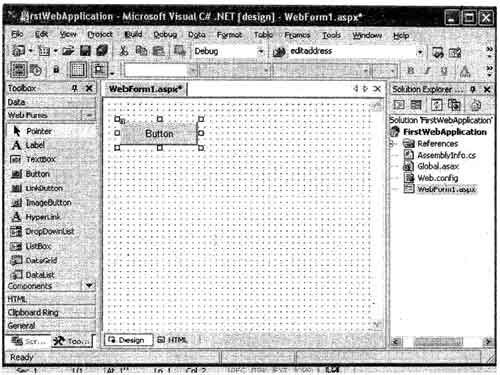
4. Now right click on the button control and select the properties.
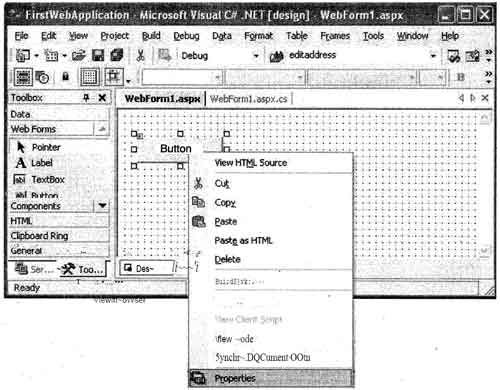
5. Now change the text property of the button from “Button” to “Message” or whatever you like .
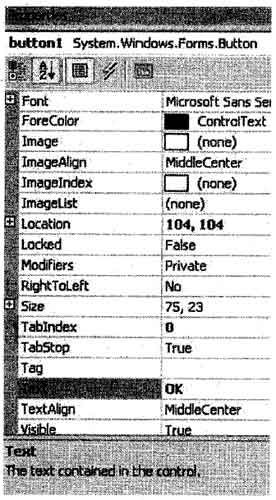
This will change the caption of button control from “Button” to “Message”.
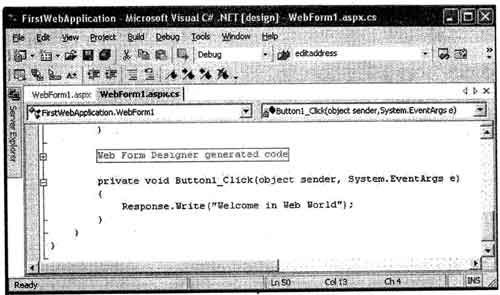
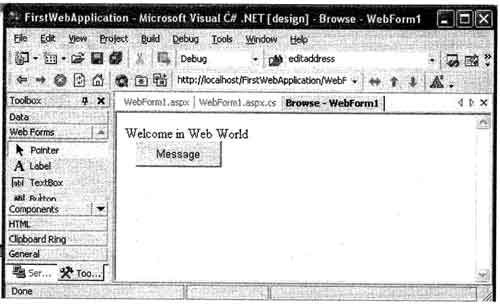
6. Double click on the button control and write the following code in the Button 1_Click event.
7. After saving the project you must build the project.
8. Now right click on the web form and select ”View in Browser”.
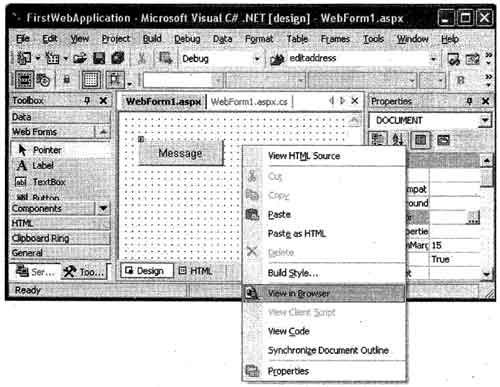
9. The output will appear looks like following figure.
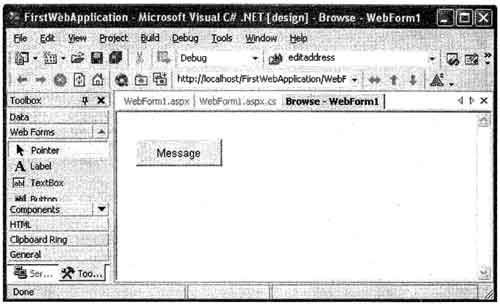
10. Now click on the Message button. you will see the following result.
The steps to add additional Web Forms to a Web Application project:
1.In the Solution Explorer window, right-click the project name, point to Add, and then click Add Web Form. The Add New Item – Project Name dialog box opens.
2. In the Add New Item – Project Name dialog box, change the name of the Web Form, . and then click Open.
A new Web Form will be created and added to the project.
 Dinesh Thakur holds an B.C.A, MCDBA, MCSD certifications. Dinesh authors the hugely popular