In this tutorial, you’ll learn how to buy hosting and domain, it would be better if each of us first understand what is meant by Domain and Hosting.
We’ll be covering the following topics in this tutorial:
What is Hosting?
Hosting is an online data storage space on the internet that allows data to be accessed online and viewed by all people from all over the world.
There are different variants of the data storage space that you can choose: 500MB, 1GB, even a much larger space. Hostgator or inmotionhosting provide an unlimited hosting service where you can freely upload your website content either in the form of images, video or other file types without fear of running out of space.
What is Domain?
Domain is your website address in the form (.com / .net / .org) and others, has the function to identify the IP address of your hosting server.
As illustrated above, when you already have the online data storage space, of course, all you need is the address that anyone can visit your business premises with ease. If you already have an online data storage space, but do not have an address, then how people can visit your business premises?
Likewise with the domain, an address that is required so that your website can easily be remembered and visited by people from all over the world.
Okay, let’s move to a tutorial on how to buy hosting and domain in Hostgator.
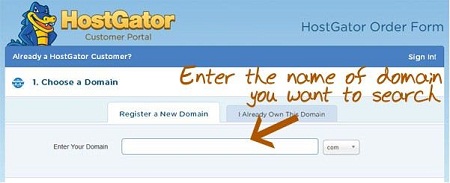
1. Open Hostgator website at (http://www.hostgator.com/)
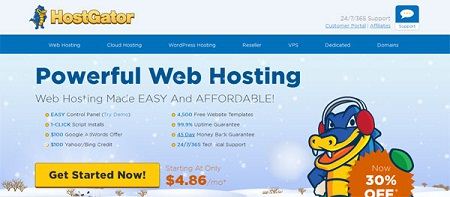
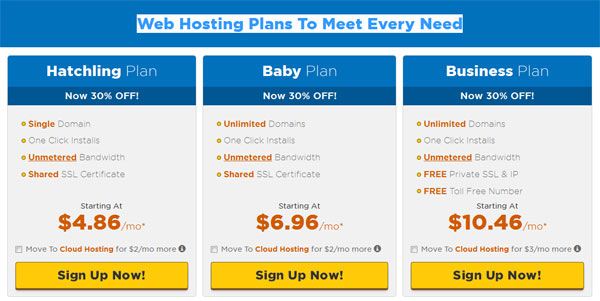
2. Choose the web Hosting menu above, and then select a Web Hosting Plans to Meet Every Need.
3. For example, we choose the Baby Plan with a minimum 6 month contract.
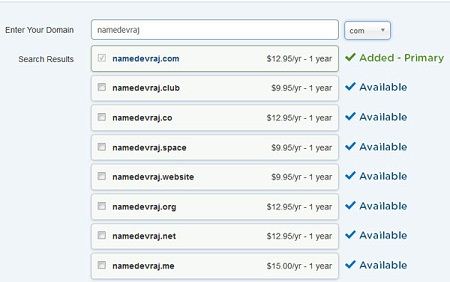
4. Click “Sign Up Now” and you’ll find the option to buy the domain. Please enter a domain name that you want, and then press enter.

6. If the domain name you want is available, it will display a description as shown below, and then select a time period of registration, available at different prices. For example, we chose the one-year registration.
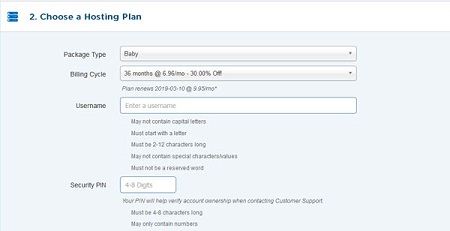
5. After that you will scroll the page like the picture below, Choose a Hosting Plan contract: 1 month, 6 months, 1 year, or even five years; of course with different rebates.
7. After that, you will scroll down, and fill Your Billing Info. Make sure everything is correct, and nothing is opting from Add Additional Services Section and then select “agreement check box”.
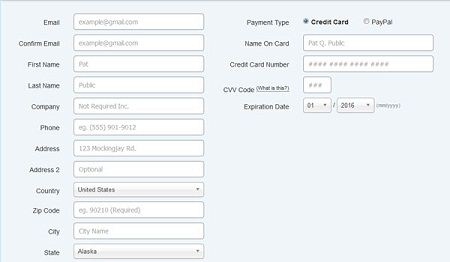
8. You will then be taken to option “Checkout” on this page where you will be directed to create a new account in Hostgator. Please select “Continue”, but if you already have an account, simply login on the page by entering your email and password. Fill in your data in detail below, and select the desired payment method, then select “Checkout Process”.

9. Then you will find a thank you page. Select continue, and then you will enter the member area Hostgator and found bills to be paid, along with how to make the payment as shown below.
10. After confirmation of the payment, you will receive an email or a notification to the member area Hostgator data related to login into cPanel or you’re hosting.
11. After that, try logging in cPanel to cPanel URL contained in the email as shown above. You can also type DomainName.com/cpanel browser to bring up the page as shown below. Please enter your username and password contained in the email.
Essential tutorials after Buy a Domain and Hosting
• How To Register Your Website Domain Name With GoDaddy
• How To Install WordPress On Hostgator CPanel
• How To Install WordPress Theme
• How to Install WordPress Plugin
 Dinesh Thakur holds an B.C.A, MCDBA, MCSD certifications. Dinesh authors the hugely popular