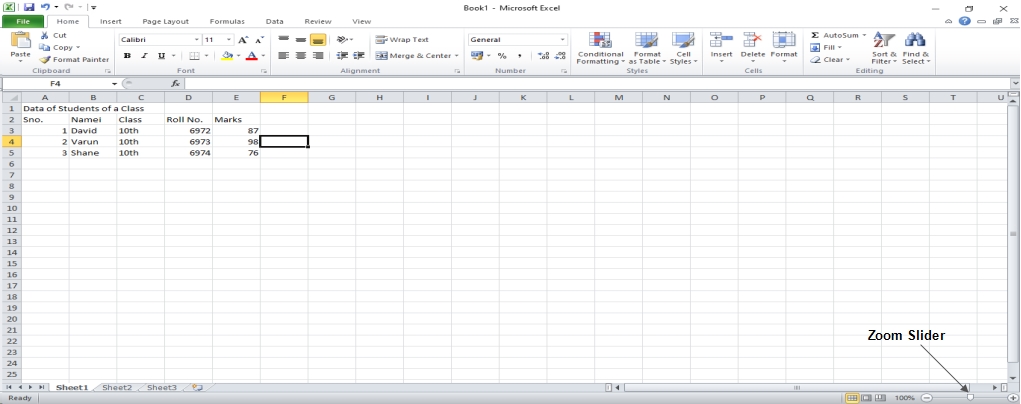
The data in the table is perceived differently depending on the display scale of the stage (that is, the area of cells). The ribbon version of Excel provides a very convenient way to set the desired scale: there is a special bar with a slider for selecting the display scale in the status bar. A functional text field (scale indicator) is placed next to the strip, displaying the display scale set by the user (by default, the value is 100%). The scale setting bar is shown in Fig below.
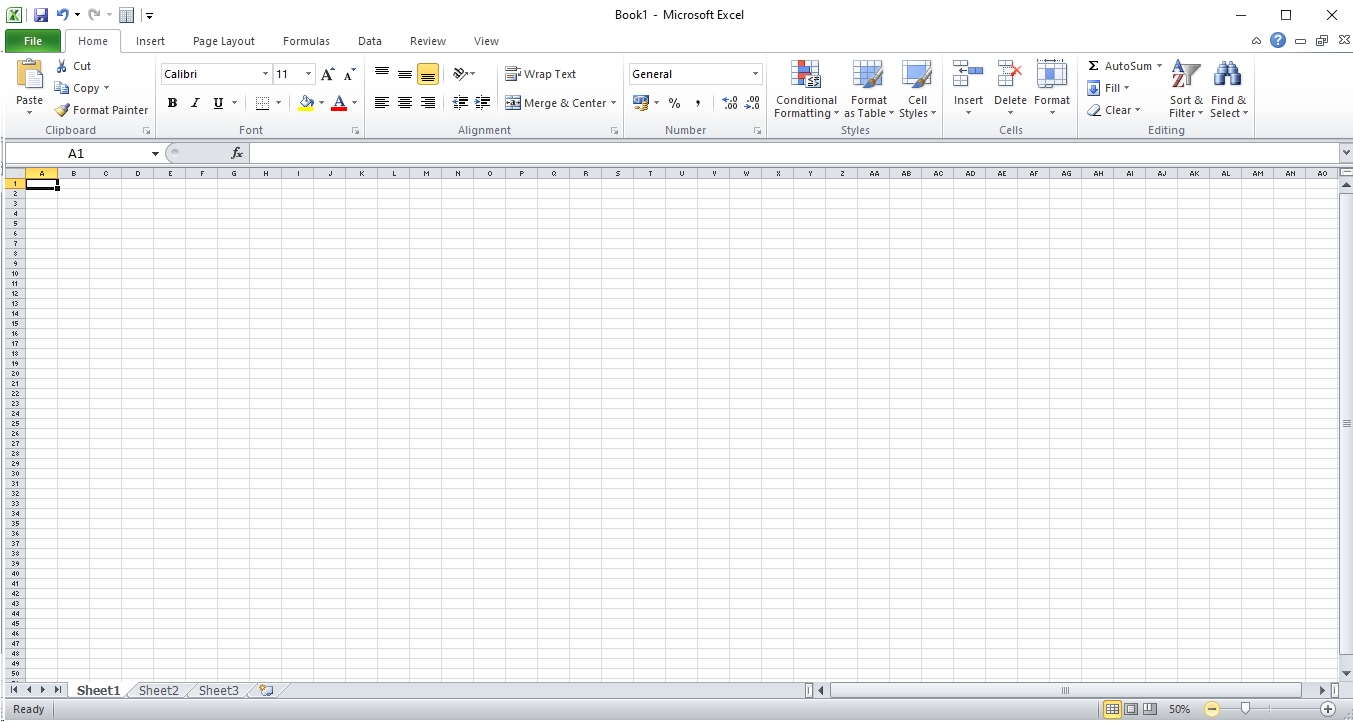
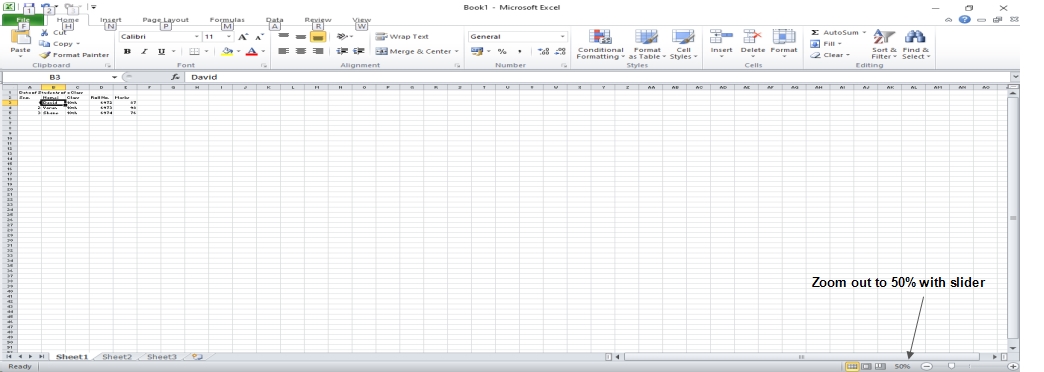
By moving the slider, select an acceptable scale for displaying data. In addition to dragging the slider directly, you can click on the icons with the plus and minus signs. In this case, for each click, the scale is respectively increased and decreased discretely in 10% steps. The figure below shows the working window of the Excel application in the mode of displaying data in cells with a scale of 50%.
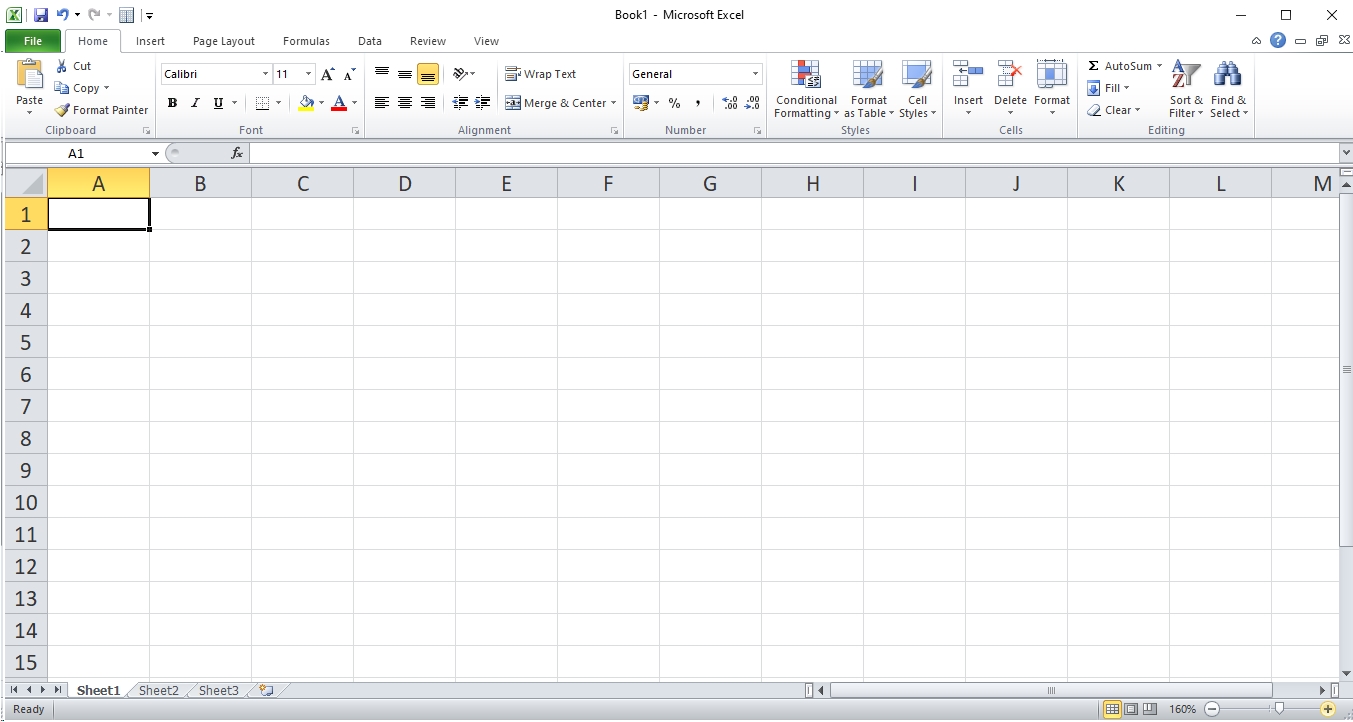 For comparison, the above figure shows the application window when the display scale is 160%.
Moreover, the above situations are not borderline. You can adjust the zoom percentage from 10% (tiny) to 400 percent (huge). Zooming does not adjust the font size, so it has no impact on the print quality. The window at the most significant display scale is shown in the figure below.
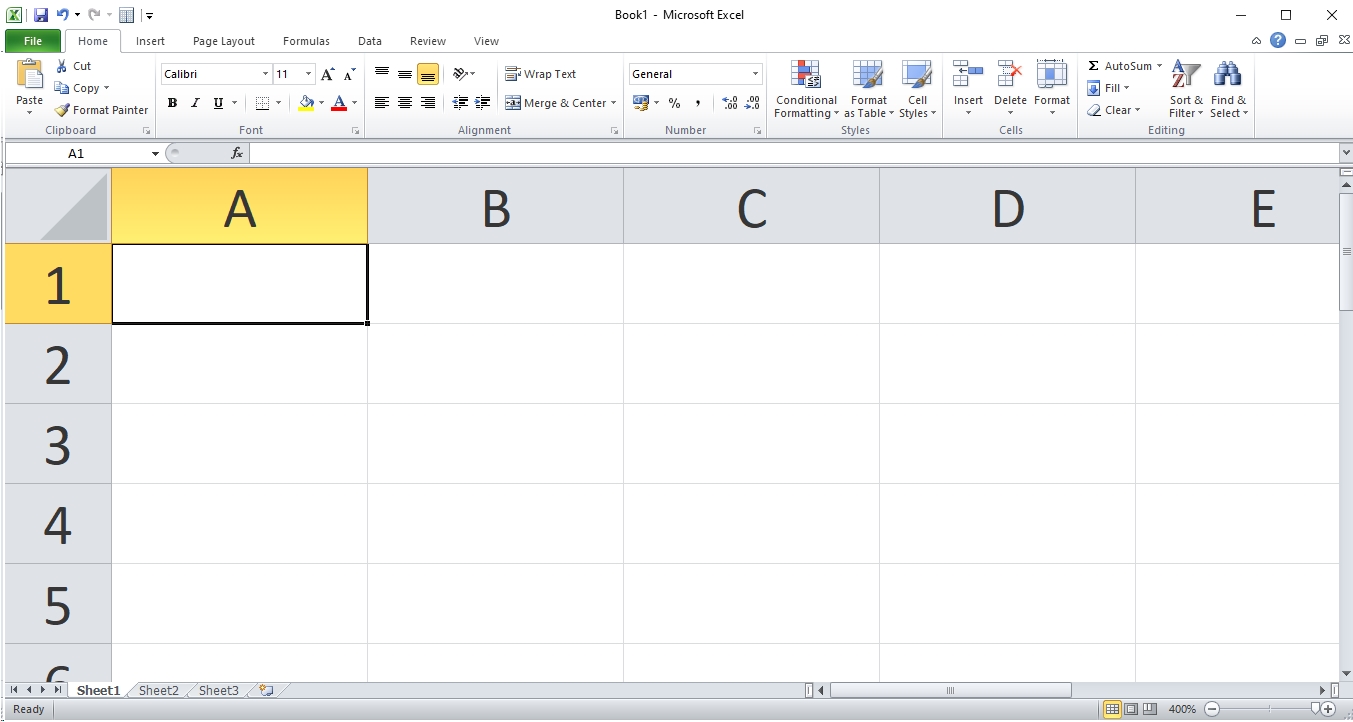
Usually, the large scale mode is used when entering or editing formulas. Small scales are helpful when the document contains a large amount of data, and there is a need to view and evaluate the document as a whole.
The described method of changing the scale is far from the only one. In particular, if you click on the field indicating the scale, which is located to the left of the scale setting bar, the dialog box for selecting the scale Scale will open.
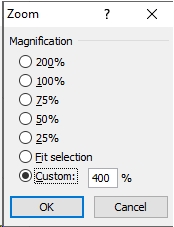
The window contains a switch for several positions with predefined scales. Besides, if you set the switch to the selection position, the scale will be adjusted so that the previously selected area is fully displayed in the window. In fig. illustrates the result of performing the following actions: at a scale of 400%, the range of cells A1: F16 is selected, after which a mouse click is made on the scale value field and in the dialog.
In the Scale window, the switch is set to the selection position. Finally, if the radio button in the dialogue is Scale is set to arbitrary. The user can enter a value for the scale of data display by himself.
It should also be borne in mind that different scales can be set for different sheets in the same workbook. In other words, zoom changes are valid within the worksheet in which they were made.
The scale indicator and the scale selection slider are displayed by default. To change these settings, right-click in the status bar (the lowest bar of the application working window) and in the context menu that opens, set/deselect the options Scale (show / hide the scale indicator) and Scale slider (show / hide the selection slider scale). These settings apply to all worksheets and workbooks.
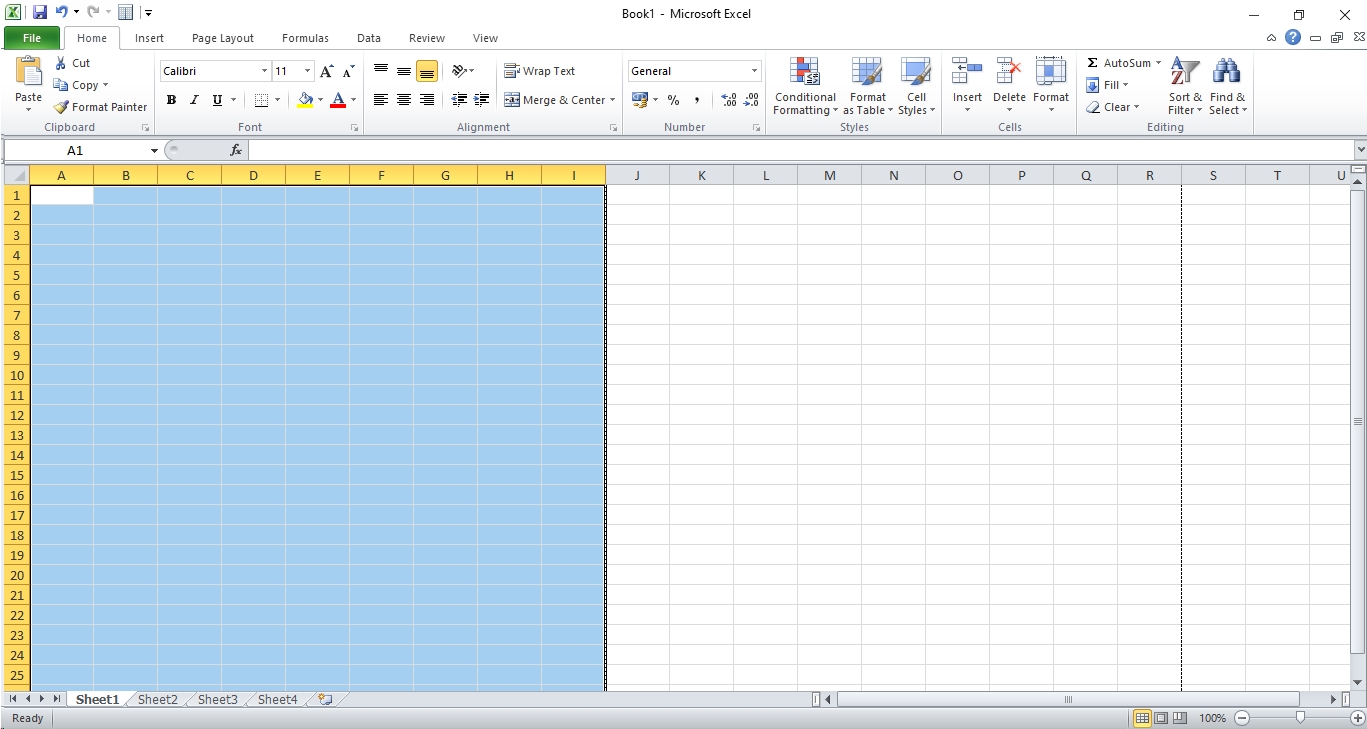
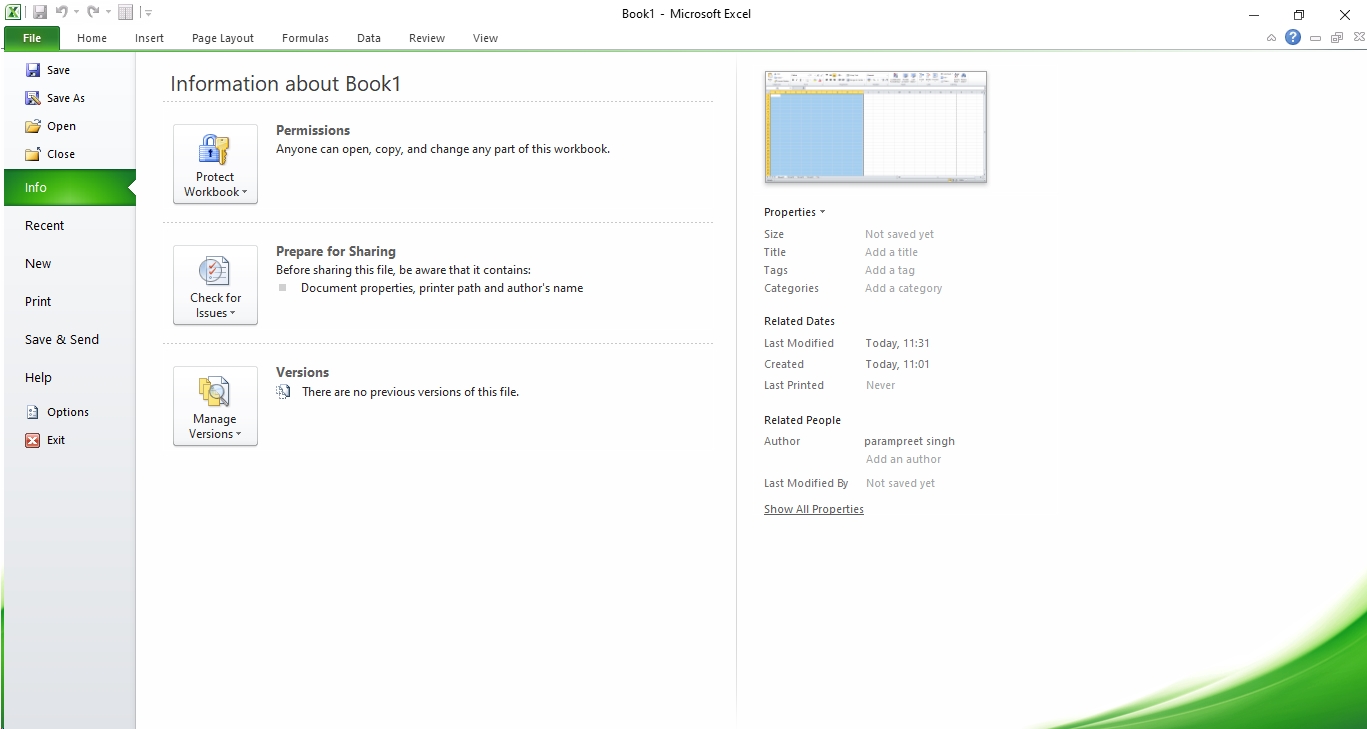
Another possibility of changing the scale of the data display is connected with changes in the system settings. In particular, on the File tab, select the Parameters item.
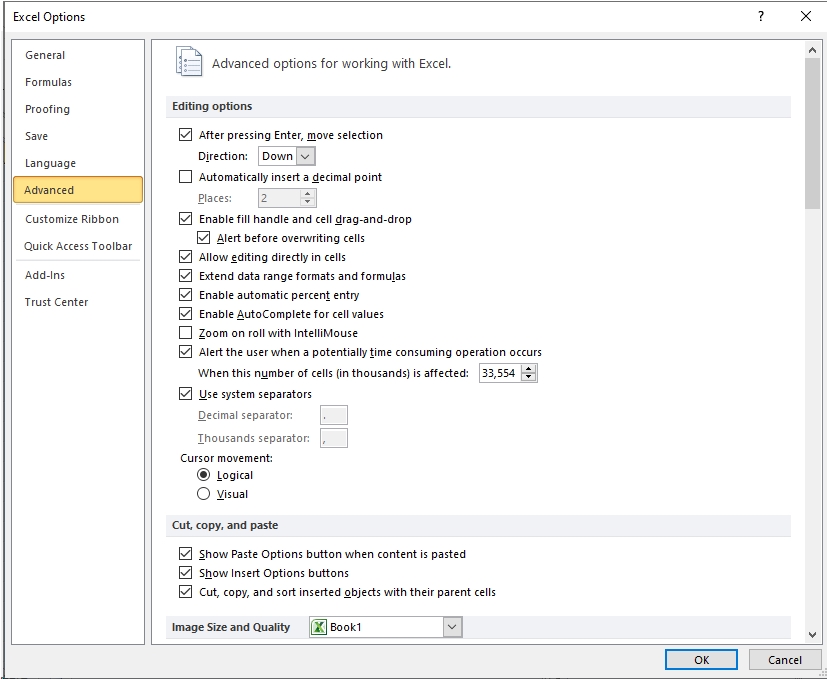
It will open the Excel Options dialog box. In this window, go to the Additional section and in the Editing options section, check the Pan with IntelliMouse option.
After that, the application switches to a mode in which the scrolling of the mouse wheel will correspond to the change in the scale of data display in the working window. Perhaps this is the fastest and most convenient way to change the scale of data display. However, it should be remembered that in this mode, you will not be able to scroll through documents using the mouse wheel – you have to pay for comfort. Moreover, the mode applies not only to all worksheets but also to worksheets. Which mode is more convenient is for the user to decide.
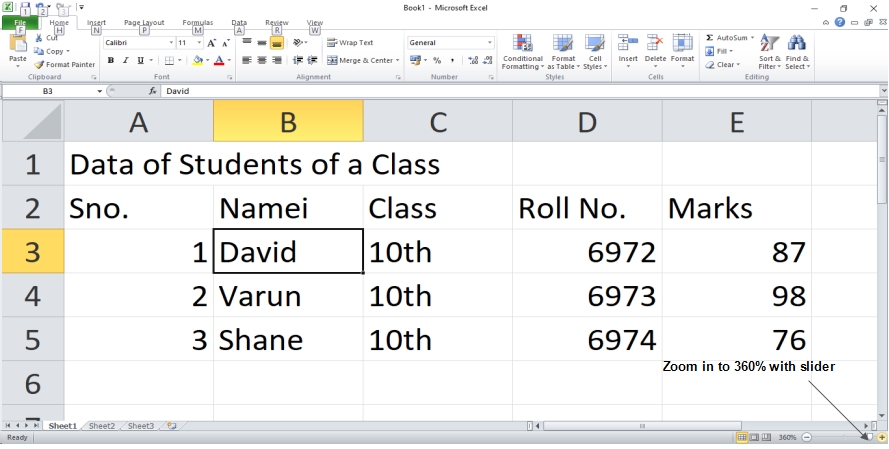
 Zoom In
By moving the slider to the right, you can zoom in on the workbook. It will alter the workbook’s only view. You will zoom in to a limit of 400 percent. Take a look at the image below.
 Zoom Out
By moving the slider to the left, you can zoom out the workbook. It will alter the workbook’s only view. You can only zoom in to a limit of 10%. Take a look at the image below.
 Dinesh Thakur holds an B.C.A, MCDBA, MCSD certifications. Dinesh authors the hugely popular