There is an access panel at the top of the working document – an echo of the toolbars used in previous versions of Excel.
![]()
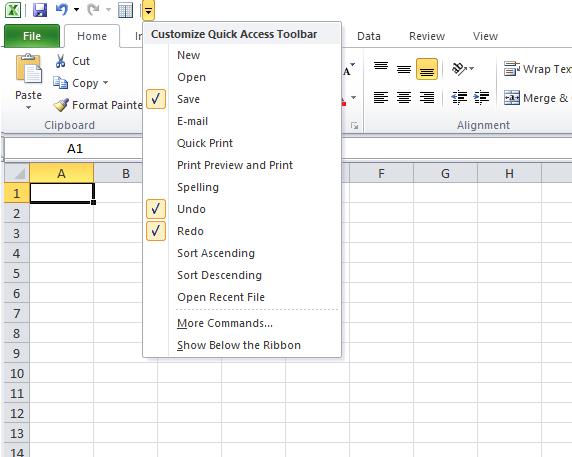
By default, the panel contains only a few icons to save the document, undo or redo the action. Also, in the right part of the panel, there is a special label in the form of an arrow directed downward, clicking on, which leads to the display of a drop-down list of commands. These commands include the Place Under Ribbon instruction to move the Quick Access Toolbar to the area of the working document below the application’s Ribbon. In Fig below, this command is selected from the drop-down list.
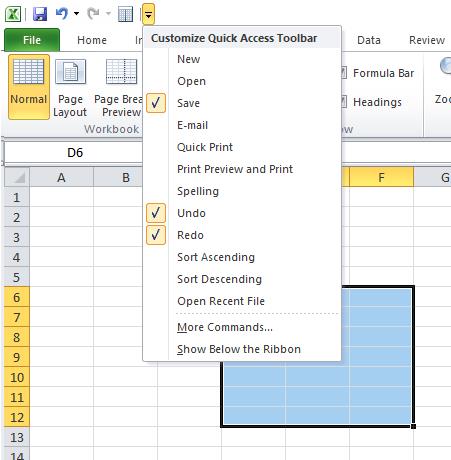 As a result, the Quick Access Toolbar drops “from heaven to earth” – it is displayed immediately below the Ribbon in a separate strip, reminiscent of the good old toolbar of earlier versions of Excel.
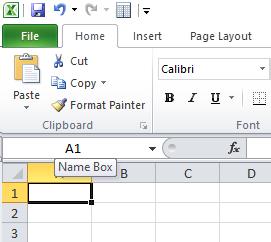 Returning the Quick Access Toolbar to its original location is easy enough. You should click on the label in the lower right corner of the panel and select the Place above the ribbon command from the drop-down list.
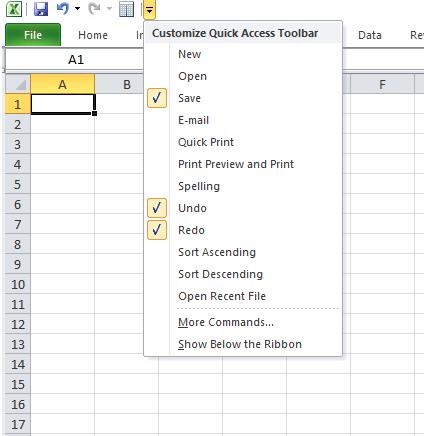
The drop-down list in the initial part contains the names of the commands. You can display the icon for the corresponding command on the quick access panel by checking the box. The Other commands command is used to add icons to the quick access toolbar of those not presented in the list.
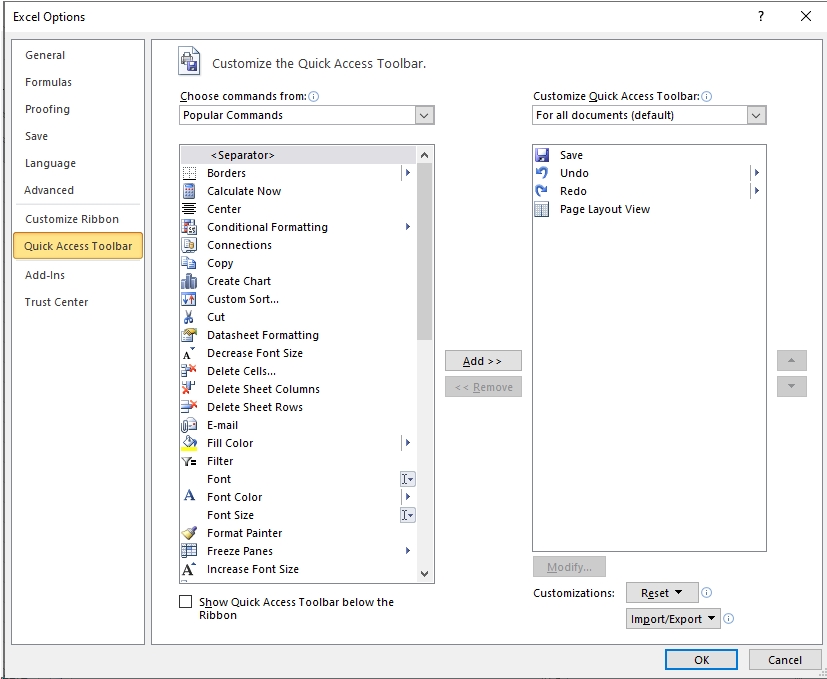
After selecting this command, the Excel Options dialog box opens, which is open in the Quick Access Toolbar section. In this case, the window looks like.
The main working area of the window consists of two lists. The left side displays the icons and command names available in Excel, and the right side contains a list of icons located on the Quick Access Toolbar. At the top of the left-hand list, there is a drop-down list Select commands from, in which you select a category or tab to which the commands belong, the icons of which are added to the quick access toolbar. The command for creating a new document New is selected in the left list, belonging to the category “File” tab. To add the corresponding icon to the quick access panel, click the Add button.
After the icon is added, it is displayed in the right list. The icon’s placement on the panel can be selected using the arrow buttons: clicking on each of the buttons leads to the relative movement of the selected icon one position up or down.
![]()
![]()
The figure shows a situation when a new icon will be placed on the quick access panel second from the left, immediately after the command’s icon to save the document.
After applying the new settings, the Quick Access Toolbar will look like the one shown in Fig.
![]()
![]()
To remove a button from the quick access toolbar, go to the Excel Options window (you can also open it through the File tab), select the icon to be deleted in the right list and click the Delete button.
It is worth noting that at the bottom of the left list in the Excel Options window (section Quick Access Toolbar), there is an option Place the Quick Access Toolbar under the Ribbon by checking the box of which you can move the Quick Access Toolbar under the Ribbon. Also, changes made to the Quick Access Toolbar settings can be applied only within the current working document or used for all documents. The required mode is selected from the Customize Quick Access Toolbar drop-down list located at the top of the list of icons of the access toolbar. The reset button is used to restore the default settings of the Quick Access Toolbar, and the Change button is active if the toolbar has an icon for the command to run a macro for execution. Using this button, the utility for editing the corresponding icon is launched.
![]()
 Dinesh Thakur holds an B.C.A, MCDBA, MCSD certifications. Dinesh authors the hugely popular