• Skip to main content
  • Skip to primary sidebar
  • Skip to secondary sidebar
  • Skip to footer

Computer Notes

Library
    • Computer Fundamental
    • Computer Memory
    • DBMS Tutorial
    • Operating System
    • Computer Networking
    • C Programming
    • C++ Programming
    • Java Programming
    • C# Programming
    • SQL Tutorial
    • Management Tutorial
    • Computer Graphics
    • Compiler Design
    • Style Sheet
    • JavaScript Tutorial
    • Html Tutorial
    • Wordpress Tutorial
    • Python Tutorial
    • PHP Tutorial
    • JSP Tutorial
    • AngularJS Tutorial
    • Data Structures
    • E Commerce Tutorial
    • Visual Basic
    • Structs2 Tutorial
    • Digital Electronics
    • Internet Terms
    • Servlet Tutorial
    • Software Engineering
    • Interviews Questions
    • Basic Terms
    • Troubleshooting
Menu

Header Right

Home » Excel » Highlighting Areas in Excel 2010
Next →
← Prev

Highlighting Areas in Excel 2010

By Dinesh Thakur

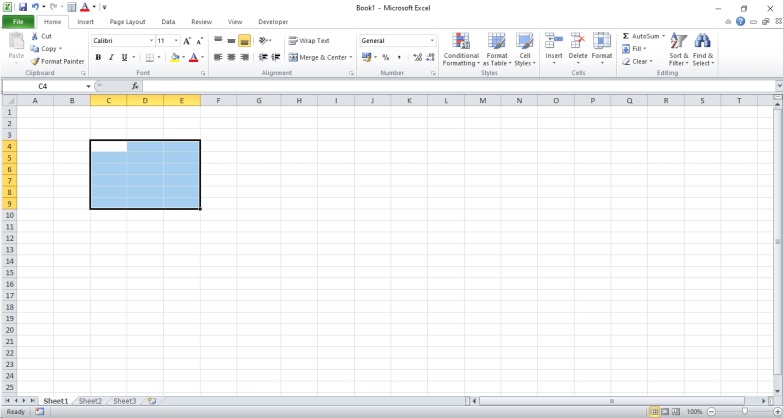
Selecting an area in a worksheet is a trivial task. Usually, it does with the mouse. A left-click is carried out over one of the four corner cells of the area intended for selection, and when the button is held down, the entire area is captured (the area is highlighted in color except for the corner cell). In fig. illustrates the process of allocating a range of cells A1: E8.

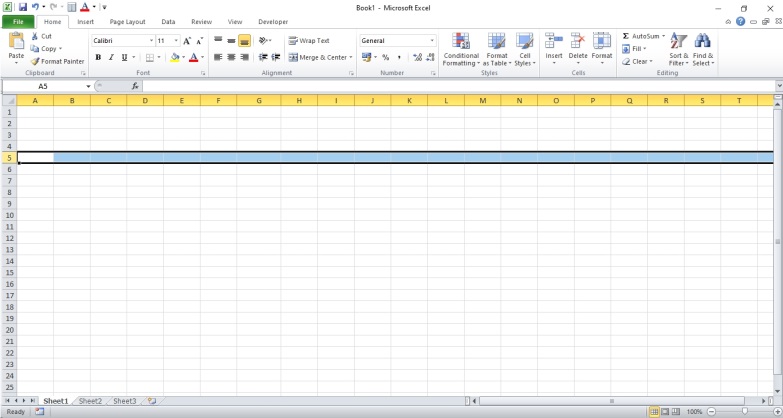
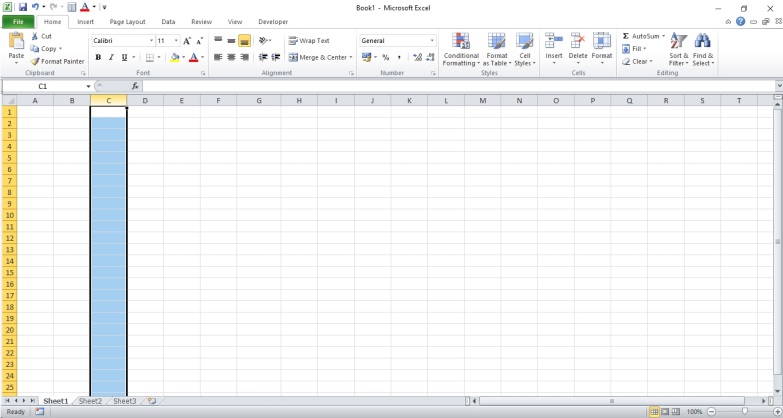
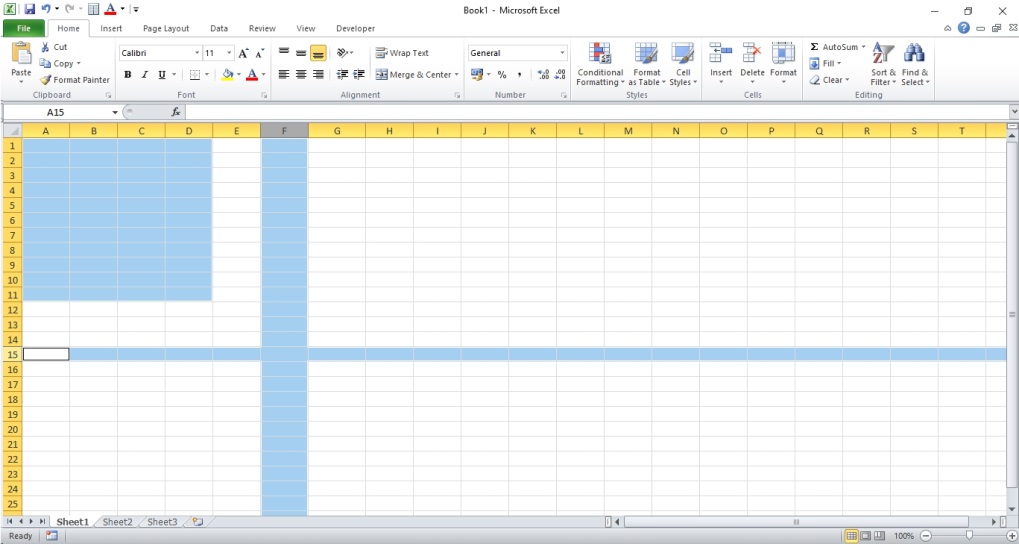
Suppose you need to select an entire row of cells or a column. In that case, the mouse cursor is moved to the row numbering strip or the column indexing strip, respectively (the mouse cursor takes the form of a horizontal or vertical arrow), and then the left mouse button is clicked. As a result, the entire row or column is selected. In fig, the line is highlighted.

The document with the highlighted column can be seen in the Figure below.

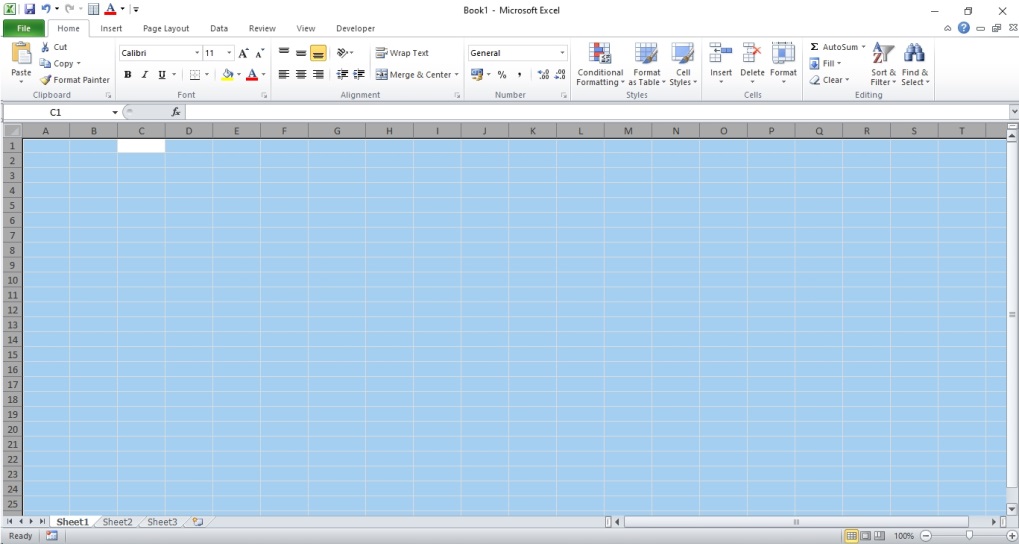
To select the entire worksheet (sometimes such a need arises), move the mouse cursor over the intersection of the row and column numbering strips in the upper left corner of the workspace. After clicking, the worksheet is highlighted.

Finally, it is often necessary to select several areas at once in different parts of the document. For example, you do this when you apply a common format to cells or ranges of cells that are not compactly laid out across the document. To not use the format to each cell or area separately, they are all selected at once, and then the format is applied. The recipe, in this case, is simple – cells and ranges of cells are chosen sequentially one after another. However, it would help if you held down the <Ctrl> key. In fig. below shows a situation where a range of cells A1: E8 is selected in a worksheet and the 9th row and column G.

Note that some operations are successfully performed using the keyboard. Some of the methods are described below.

You’ll also like:

  1. Managing Data in Excel in 2010
  2. Rows & Columns in Excel 2010
  3. Name field in Excel 2010
  4. Entering Values in Excel 2010
  5. Zoom IN/OUT in Excel 2010
Next →
← Prev
Like/Subscribe us for latest updates     

About Dinesh Thakur
Dinesh ThakurDinesh Thakur holds an B.C.A, MCDBA, MCSD certifications. Dinesh authors the hugely popular Computer Notes blog. Where he writes how-to guides around Computer fundamental , computer software, Computer programming, and web apps.

Dinesh Thakur is a Freelance Writer who helps different clients from all over the globe. Dinesh has written over 500+ blogs, 30+ eBooks, and 10000+ Posts for all types of clients.


For any type of query or something that you think is missing, please feel free to Contact us.


Primary Sidebar

Excel 2010

Excel 2010 Tutorials

  • Excel - Started
  • Excel - Tour
  • Excel - BackStage View
  • Excel - Entering Values
  • Excel - Navigating Workbook
  • Excel - Save Workbook
  • Excel - Open/Close Worksheet
  • Excel - Managing Worksheet
  • Excel - Managing Data
  • Excel - Rows & Columns
  • Excel - Copy & Paste
  • Excel - Find & Replace
  • Excel - Spell Checker
  • Excel - Zoom In/Out
  • Excel - Paginated View
  • Excel - Insert Comments
  • Excel - Insert Text Box
  • Excel - Undo/Redo
  • Excel - Formatting Cells
  • Excel - Formatting Worksheets
  • Excel - Working with Formula
  • Excel - Quick Access Toolbar
  • Excel - Name Field
  • Excel - Formula Bar
  • Excel - Status Bar
  • Excel - Full Screen Mode
  • Excel - Grid and Indexing Fields
  • Excel - Preferences Window
  • Excel - Color Scheme

Ribbon Tab

  • Excel - Ribbon Tabs
  • Excel - Show and Hide Ribbon
  • Excel - Adding Ribbon Groups
  • Excel - Active Label of Ribbon Group
  • Excel - Customizing the Ribbon
  • Excel - Contextual Ribbon Tabs

Other Links

  • Excel - PDF Version

Footer

Basic Course

  • Computer Fundamental
  • Computer Networking
  • Operating System
  • Database System
  • Computer Graphics
  • Management System
  • Software Engineering
  • Digital Electronics
  • Electronic Commerce
  • Compiler Design
  • Troubleshooting

Programming

  • Java Programming
  • Structured Query (SQL)
  • C Programming
  • C++ Programming
  • Visual Basic
  • Data Structures
  • Struts 2
  • Java Servlet
  • C# Programming
  • Basic Terms
  • Interviews

World Wide Web

  • Internet
  • Java Script
  • HTML Language
  • Cascading Style Sheet
  • Java Server Pages
  • Wordpress
  • PHP
  • Python Tutorial
  • AngularJS
  • Troubleshooting

 About Us |  Contact Us |  FAQ

Dinesh Thakur is a Technology Columinist and founder of Computer Notes.

Copyright © 2025. All Rights Reserved.

APPLY FOR ONLINE JOB IN BIGGEST CRYPTO COMPANIES
APPLY NOW